Link to WIP update 2
Link to WIP update 3
Link to WIP update 4
Link to WIP update 5
Link to Completed Kit
Finished painting the main body of the gundam.
Next up is weapons, decals + top coat -> DONE!
For this update, I have to conclude that against what most comments I read online that white primer should be used for white coat, grey primer should be used when covering up bright colors.
Grey primer seems to work better from my testings, especially the originally red parts.
Ran out of grey primer spray can the other day so against my better judgement (from a previous SD test), I used white primer for part of the skirts.
Have to apply multiple coats to the point that it almost runs and yet there's still red showing across...
Grey primer on the other hand just need 2 coats (what I do for other paint areas anyway).
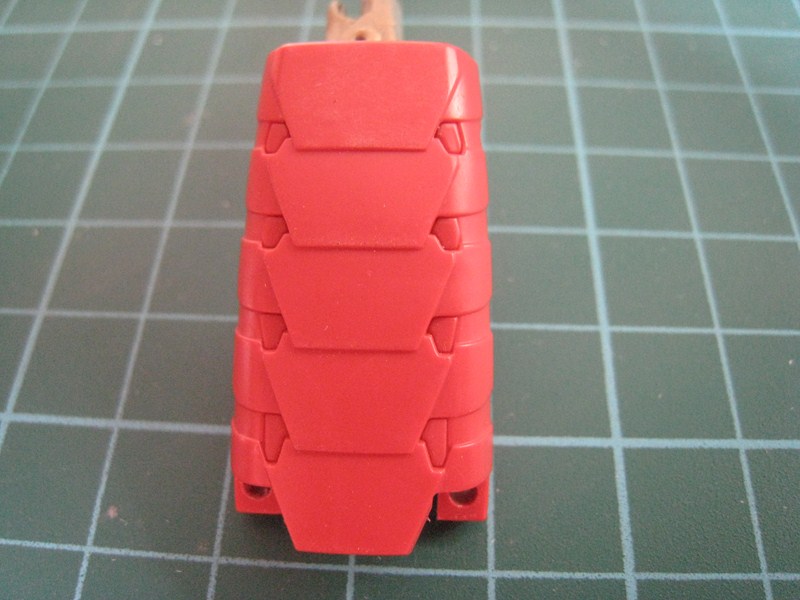
You can see the difference comparing the front skirts + other parts (grey primer) against the side & back skirts (white primer).
Good thing though out of fun, I took some progressive pictures for white primer (didn't take any for the grey primer)
In sequence:
1) Original piece
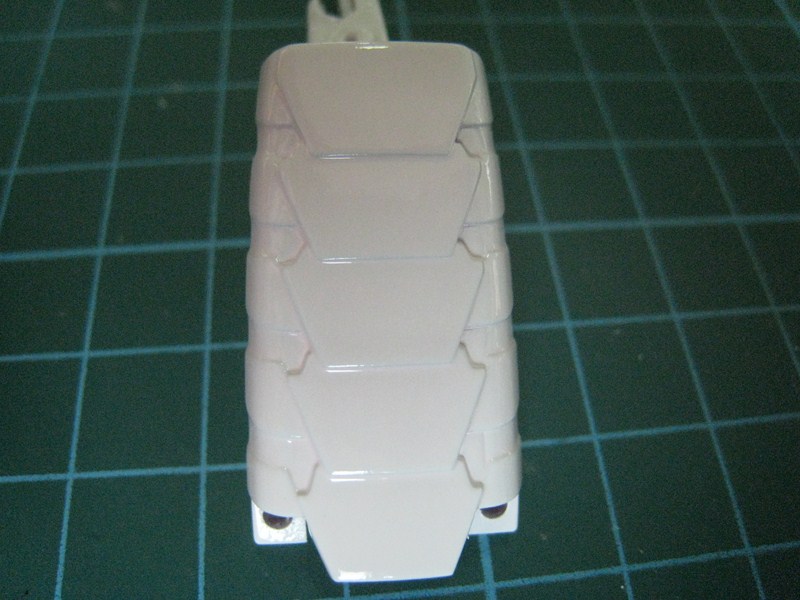
2) 1st mist layer of white primer
3) 2nd layer of white primer
4) 1st mist layer of white paint
5) 2nd layer of white paint
6) last layer of white paint [might have over-sprayed this last part, almost reach point of running].
Even with this many coats, the red is still showing in the final product!!!


Also did some photoshop to merge 2 pictures together.
Hope it looks more "pro".
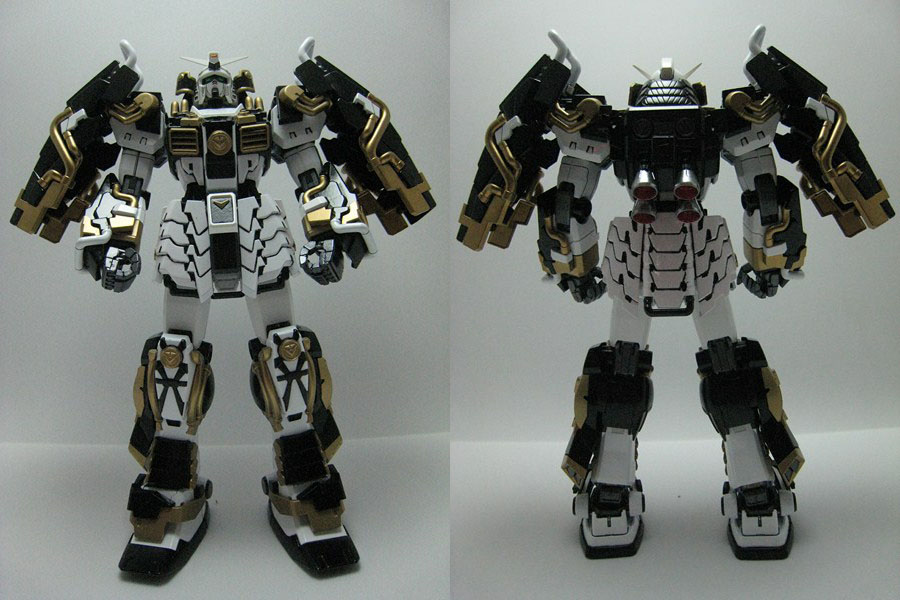
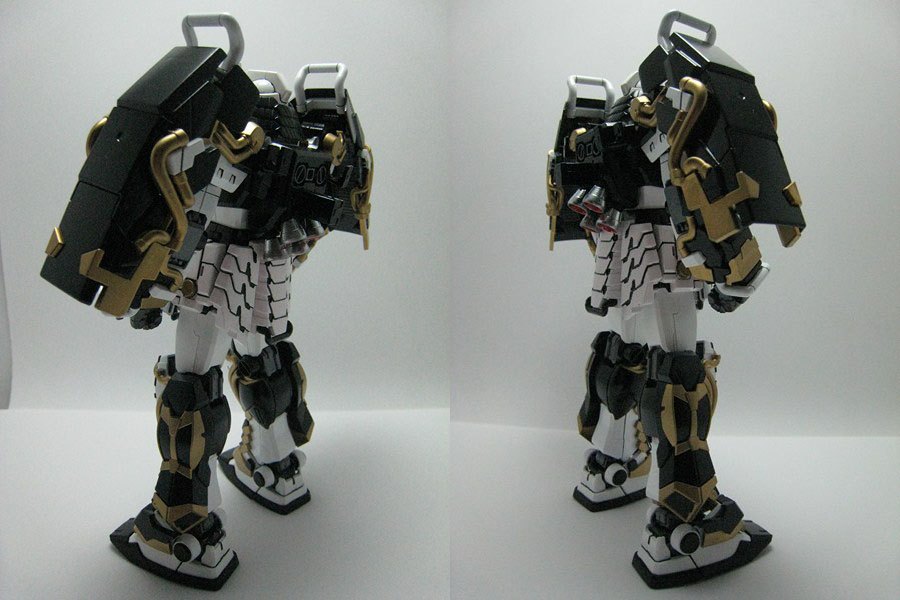
First set without the arm & shoulder armor


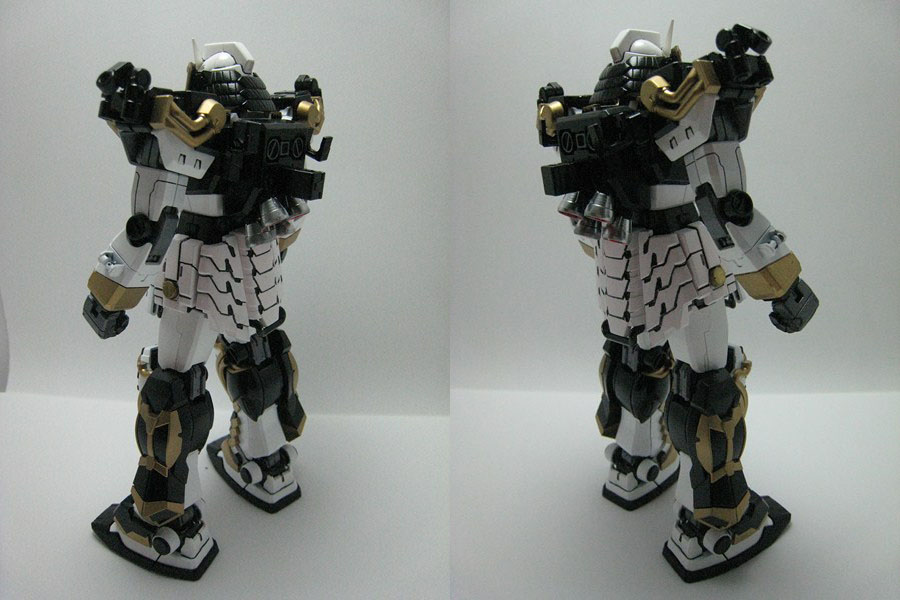
Second set with full armor on

Last but not least, a picture with my OOB Shin Musha
(Looks like the tamiya gold paint used is not as shiny)
.JPG)
Sick....Looks awesome. Good Work!!!
ReplyDelete